Add Throttle Limits to API Gateway
Throttling helps prevent your backend services from being overwhelmed by too many requests at once. This is particularly important if your backend services have limited capacity and can only handle a certain number of requests per second.
Without throttling, a single client could potentially consume all available resources, leaving others with degraded service or no service at all.
What we'll be doing
- Review the existing module
- Configure throttle limits
Review the existing module
Start by cloning the Nitric repository, then examine how the Terrraform provider provisions an API Gateway.
git clone https://github.com/nitrictech/nitric
cd nitric
The AWS API module in the default Terraform provider performs the following tasks:
- Defines an HTTP API Gateway with specified name, protocol, and API specification.
- Sets up a "$default" deployment stage with automatic deployment enabled.
- Allows the API Gateway to invoke specified Lambda functions.
- Looks up existing certificates for specified domains.
- Configures custom domain names for the API Gateway using the retrieved certificates.
To begin our customization, we will start adding configuration to the existing module.
Configure throttle limits
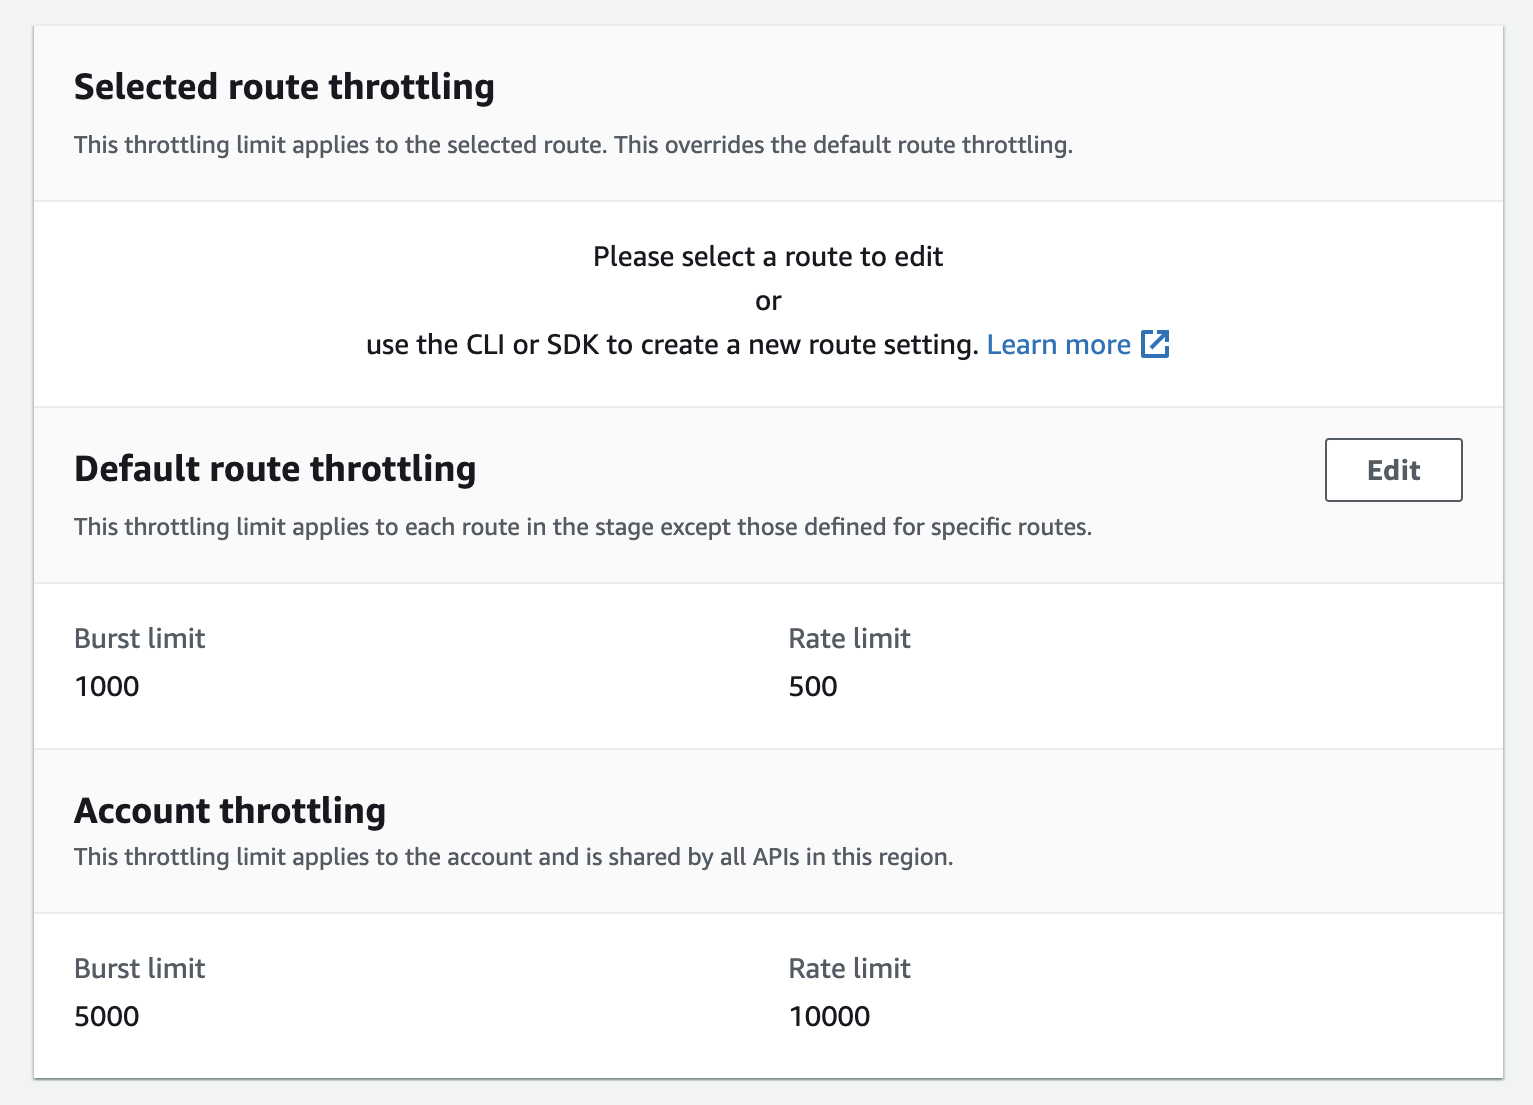
Update aws_apigatewayv2_stage.stage in aws/deploytf/.nitric/modules/bucket/main.tf to add default_route_settings which include throttling limits:
resource "aws_apigatewayv2_stage" "stage" {
  api_id      = aws_apigatewayv2_api.api_gateway.id
  name        = "$default"
  auto_deploy = true

  default_route_settings {
    throttling_burst_limit = 1000
    throttling_rate_limit  = 500
  }
}
Full documentation can be found on the Terraform registry.
Build and use your updated provider
The Nitric project includes a make file that will build and install your provider as nitric/awstf@0.0.1 by default.
Navigate to nitric/cloud/aws and run make install to build and install the modified provider binary.
cd nitric/cloud/aws

make install
The provider can then be used directly in your project's stack file as follows.
# The nitric provider to use
provider: nitric/awstf@0.0.1

# The target aws region to deploy to
region: us-east-2
If you don't have a stack file use nitric stack new to create one.
Because the Terraform providers are in preview, you'll also need to enable beta-providers in your Nitric project by adding the following to your project's nitric.yaml file:
preview:
  - beta-providers
You can generate the Terraform project as usual by running the nitric up command:
nitric up
To deploy the application using Terraform, you can navigate into your Terraform stack directory and use the standard Terraform commands:
terraform init
terraform plan
terraform apply
Finally, log into the AWS console to verify the configuration was applied.
